I still remember the first time I inherited someone else's HTML codebase. It was a single index.html file — 1,847 lines — with zero indentation. Every tag was on one line. Every attribute was jumbled together. It took me three days to find a missing closing </div> that was breaking the entire layout.
That experience taught me something most tutorials skip: readable HTML isn't optional — it's a professional standard. In this guide, I'll show you exactly how to beautify HTML, with real examples and the actual techniques I use every day.
What Does "Beautifying HTML" Actually Mean?
Beautifying HTML (also called formatting or prettifying) means automatically restructuring your HTML code so it follows consistent indentation, line breaks, and spacing rules — without changing how the page renders in a browser.
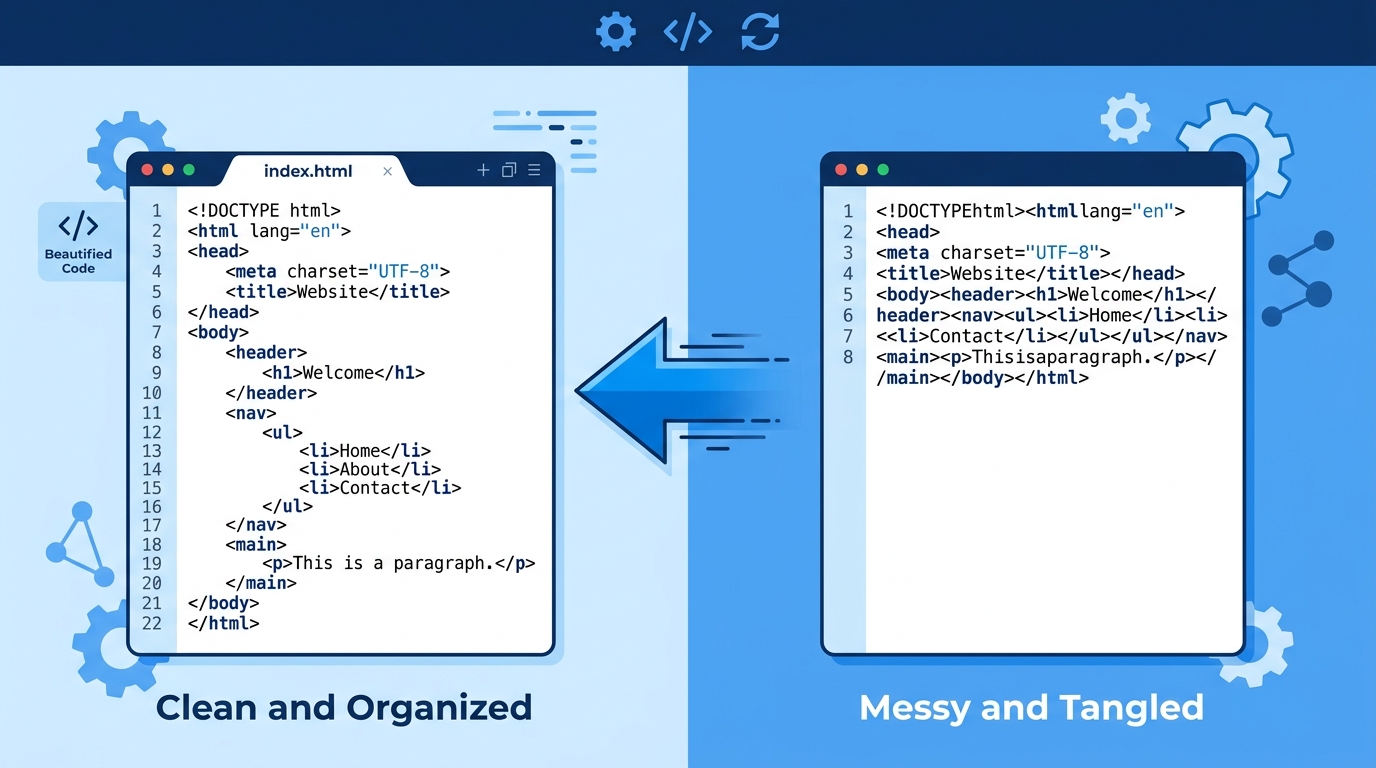
The key insight most beginners miss: beautifying is lossless. Your page looks identical before and after. But your source code goes from this:
<html><head><title>My Page</title></head><body><div class="container"><h1>Hello</h1><p>Welcome to my website.</p></div></body></html>...to this:
<html>
  <head>
    <title>My Page</title>
  </head>
  <body>
    <div class="container">
      <h1>Hello</h1>
      <p>Welcome to my website.</p>
    </div>
  </body>
</html>
Night and day difference.
Why Messy HTML Is Costing You More Than You Think
Here's what I've observed after years of working with messy code:
- Debugging time triples. When tags aren't properly nested visually, you can't spot unclosed elements at a glance.
- Code reviews become arguments. Reviewers can't focus on logic when they're squinting at formatting.
- Copy-paste errors multiply. Unindented code leads to copy-paste mistakes that are nearly invisible.
- Onboarding new developers takes longer. A new hire shouldn't need a map to understand your markup.
In my experience, teams that enforce HTML formatting standards ship features noticeably faster — not because of the formatting itself, but because readable code leads to fewer bugs and faster reviews.
Step-by-Step: How to Beautify HTML in Under 60 Seconds
Step 1: Copy Your Messy HTML
Select all the HTML you want to clean up and copy it to your clipboard. This could be an entire page, a component, or even a snippet from a CMS export.
Step 2: Open an HTML Beautifier Tool
You don't need to install anything. Head to our free HTML Beautifier — paste your code into the left panel and the formatted version appears instantly on the right.
Step 3: Choose Your Indentation Style
This is where personal preference and team standards matter. The tool supports:
- 2 spaces — popular in React, Vue, and modern JavaScript ecosystems
- 4 spaces — the traditional standard, preferred by many backend developers
- Tabs — adjustable width, better for accessibility (screen readers and braille displays benefit from tabs)
My personal recommendation: Use 2 spaces for HTML. HTML already nests deeply (html → body → section → div → p), and 4-space indentation pushes deeply nested code uncomfortably far right on small screens.
Step 4: Review the Output
Before copying, scan the output for these common issues:
- Inline scripts/styles — beautifiers sometimes reformat these unexpectedly
- Pre-formatted blocks — content inside
<pre>tags should not be reformatted - Template syntax — if your HTML contains
{% %}or{{ }}(Jinja, Django, Blade), verify they survived intact
Step 5: Use the Formatted Code
Copy the output and paste it back into your file. Save it. Done.
When Should You Not Beautify HTML?
This is something most guides don't mention. There are situations where beautifying is actually wrong:
- Production minified files. Don't beautify and redeploy a minified file you didn't build yourself — you'll lose optimizations. If you need to read a minified file, beautify a local copy only.
- Email HTML templates. Email clients are famously inconsistent. Some email rendering engines treat extra whitespace as literal characters. Keep email HTML compact.
- Auto-generated markup from CMS exports. Run a beautifier to read it, but don't re-import the beautified version unless you've tested thoroughly.
Beautifying vs. Minifying: Opposite Goals, Both Essential
If beautifying makes code readable, HTML minification does the opposite — it strips all whitespace and comments to make files smaller for production. These are not competing — they serve different stages of your workflow:
- Development: Beautified, readable HTML
- Code review: Beautified, readable HTML
- Production deployment: Minified HTML for speed
What About Validating Your HTML After Formatting?
Formatting doesn't fix structural errors. A beautifier arranges your code neatly — but if you have unclosed tags, invalid attributes, or deprecated elements, they'll still be there, just indented nicely. That's where an HTML Validator comes in — use it after formatting to catch any remaining issues.
Key Takeaways
- HTML beautification is lossless — it changes appearance of code, not how the page renders
- 2-space indentation works best for deep HTML structures
- Don't beautify production minified files or email templates
- Always validate after formatting to catch structural errors
- Use a free tool like HTMLify's HTML Beautifier — no install required
Next time you open a messy HTML file, don't spend 20 minutes manually indenting. Paste it into a beautifier, review the output, and get on with the real work. Your future self — and your teammates — will thank you.